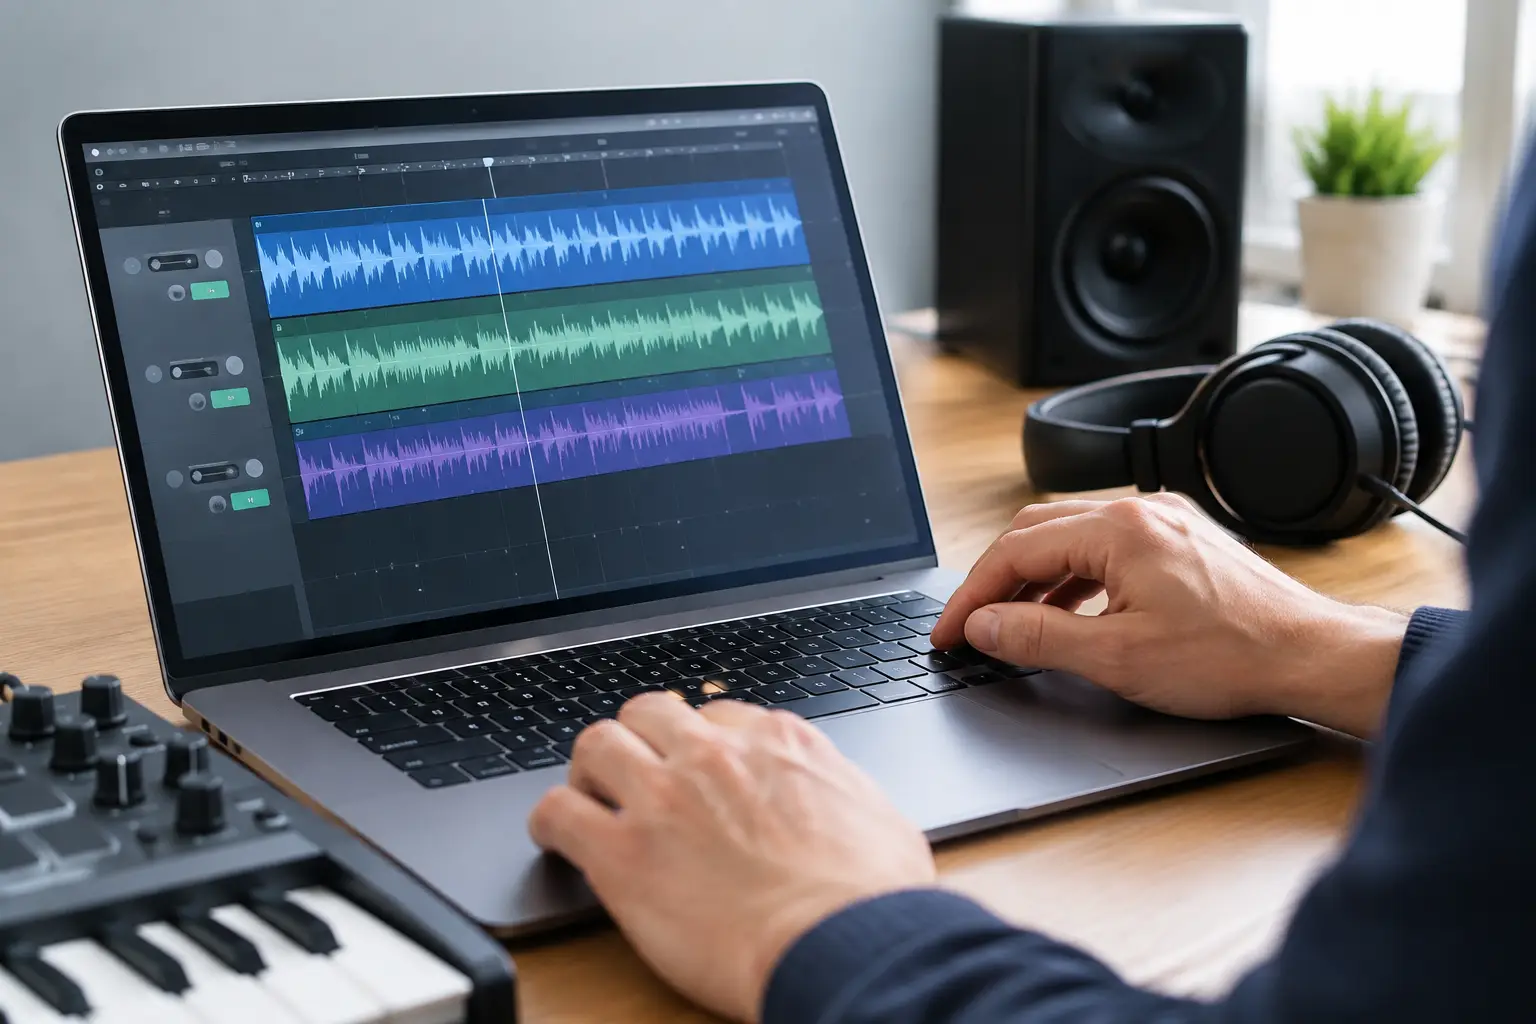
A great drum loop can fall apart the moment you force it from 92 BPM to 128 BPM. The kick may still land on the grid, but cymbals start smearing, claps develop a metallic wobble, and the groove loses the movement that made you choose the loop. Learning how to fit a drum loop to your project tempo without artifacts is less about finding one perfect stretch button and more about choosing the right method for the amount of tempo change, the material, and the role of the loop in the track.
The short version: confirm the loop's real tempo, use the smallest stretch possible, choose a percussion-friendly stretching mode, and edit problem transients rather than asking an algorithm to repair everything. If the loop needs an extreme change, slicing or replacement usually sounds better than stretching.
Start by finding the loop's true BPM
Do not stretch anything until you know what you are stretching from. A one-bar loop at 120 BPM lasts exactly two seconds in 4/4. A two-bar loop at 120 BPM lasts four seconds. If your file is 3.75 seconds long, it may be a two-bar loop at 128 BPM, not a two-bar loop at 120 BPM.
Many sample libraries label BPM accurately, but mistakes happen. Some loops have silence before the first transient, a tail after the final hit, or a pickup note that makes the file appear longer than its musical phrase. Trim only obvious non-musical silence before judging its length.
The tempo relationship is straightforward:
New duration = original duration × original BPM ÷ project BPM
For example, a two-bar loop recorded at 100 BPM lasts 4.8 seconds. In a 120 BPM project, it needs to last 4 seconds. That is a 20% reduction in duration, which is a meaningful amount of time stretching. It may be acceptable for a dry kick-and-snare loop, but much less forgiving for a full break with open hats, room sound, and percussion.
If the BPM is unknown, count its bars and measure the length in seconds. A BPM calculator can help check the result before you commit to warping. BeatTiming's BPM and bars-to-time tools are useful for confirming whether the file length makes sense for its claimed phrase length.
Match the downbeat before you stretch
A loop can be technically the right length and still feel wrong because its first beat is not aligned with the project grid. Zoom in and place the first meaningful downbeat - usually the first kick, snare, or obvious transient - exactly on the start of the bar.
Be careful with acoustic loops and sampled breaks. The drummer may play slightly ahead of or behind the grid. That movement is often part of the feel. Align the musical downbeat, not necessarily the first tiny waveform peak. If you snap every transient to a rigid grid, you can remove the pocket while fixing the timing.
Then check the last downbeat of the phrase. If a two-bar loop begins at bar 1 and its next bar-1 downbeat lands exactly at bar 3, the basic tempo match is correct. Only after that should you decide whether the internal hits need editing.
Choose the stretching method for the loop, not the menu label
Most DAWs offer several time-stretch algorithms, often named beats, rhythmic, slicing, percussion, complex, texture, or elastique-style modes. The names differ, but the practical choice is similar.
For a loop with clear, short hits, start with a rhythmic or percussion-focused algorithm. These modes are designed to preserve transient attack. They may sound slightly less smooth between hits, but that is usually preferable to softening a snare crack.
For a drum break with room ambience, sustained cymbals, or noisy percussion, a higher-quality general-purpose mode may produce fewer obvious gaps. The trade-off is that larger tempo moves can blur the transients or create a watery sound around cymbal decays. There is no setting that removes this trade-off completely.
Slicing is often the cleanest answer for punchy material. Instead of continuously stretching the entire waveform, the DAW cuts the loop at transients and moves the slices to the new timing. A kick remains a kick, rather than becoming a stretched version of itself. However, slices can leave tiny gaps when slowing a loop down, and tightly quantized slicing can make a human performance sound stiff.
How to fit a drum loop to your project tempo without artifacts
Start with one warp marker at the first downbeat and another at the start of the next full phrase. Avoid placing markers on every hi-hat at first. Excessive markers make the DAW reshape audio in many small sections, which can create more artifacts than they solve.
Listen to the loop with the project drums muted, then with them playing. If the main kick and snare land correctly but a ghost note drifts slightly, decide whether that drift is actually a problem. In house, techno, hip-hop, and breakbeat production, small timing variation can be useful. Correct the hits that disrupt the groove or clash with another drum layer, not every visible waveform peak.
When a hit genuinely needs adjustment, add a marker just before or on that transient and move it gently. Check the audio immediately before and after the edit. A marker may fix the snare while pulling a hi-hat decay into an unnatural shape.
For a loop changing from 124 BPM to 126 BPM, the difference is only about 1.6%. A good algorithm should handle this easily. For a loop changing from 90 BPM to 128 BPM, the difference is about 42%. Even if the beat remains in time, expecting clean cymbals and natural room tone from that stretch is unrealistic. That is the point to switch approaches.
Use slicing when the tempo move is large
If continuous warping produces chirps, flams, or smeared hats, slice the loop at the main transients. Quantize the slices lightly or place them by ear. Then use short fades at the slice boundaries to prevent clicks.
When slowing a sliced loop down, gaps can appear between hits. You have several musical options: let the gaps create a more staccato feel, extend selected slices, add a subtle room reverb, or layer new hats and percussion over the spaces. Do not automatically time-stretch every slice to fill every gap. That often brings back the artifacts you were trying to avoid.
When speeding a loop up, slices may overlap. Trim tails where necessary, especially on kicks and snares. For cymbals, a small overlap can sound natural, but listen for phasey buildup and clutter.
A hybrid approach often works best. Slice the kick and snare region for impact, while using a smoother stretch mode on a separate top-loop layer. If your source is a full stereo drum loop, you can also duplicate it: high-pass one copy for hats and texture, low-pass the other for body, then treat each layer differently. This will not separate instruments perfectly, but it can make artifacts less noticeable.
Keep pitch and tempo as separate decisions
Time stretching can preserve pitch, but that does not mean it always should. Turning off pitch preservation while changing tempo creates the familiar tape-style behavior: speeding up raises pitch and slowing down lowers it. This can sound more natural than aggressive key-locked stretching, especially with sampled breaks.
The cost is harmonic. If the loop contains a tonal tom, a tuned percussion line, or a recognizable musical fragment, its pitch may clash with the track. A mostly atonal kick-and-hat loop gives you more freedom.
As a rough guide, a doubling of tempo changes pitch by one octave when pitch follows speed. Smaller changes follow the same ratio, not a fixed number of semitones per BPM. Let your ears decide whether the pitch movement adds energy or simply makes the sample sound wrong.
Fix the edges and tails that reveal the edit
A perfectly warped loop can still click or stumble at the repeat point. Listen across the loop boundary for a few repetitions, not just inside one pass. Trim the end so the final tail either resolves naturally before the restart or overlaps in a controlled way.
Very short fades - often just a few milliseconds - can remove clicks caused by cuts that do not occur at a zero crossing. Longer crossfades are useful when joining slices with sustained ambience, but they can soften attacks if overused.
If the loop has a loud room tail, consider making it part of the arrangement instead of forcing a perfect loop. Let it play for one or two phrases, then change the pattern, mute it for a fill, or transition into another layer. Repetition exposes artifacts faster than variation does.
Know when to replace rather than repair
Some source material is simply not built for extreme tempo changes. A live break with cymbal wash, percussion, bass bleed, and roomy snare hits may sound worse each time you add another warp marker. In that case, keep the original loop as a texture and program new kick, snare, or hat parts around its strongest details.
This preserves the character you liked while giving the track a stable rhythmic foundation. It also lets you use the loop creatively: filter it in a breakdown, automate it into a transition, or bring it back for contrast rather than relying on it as the entire drum arrangement.
The best result is not always the most mathematically corrected loop. Get the phrase length right, protect the transients that carry the groove, and let the less critical details stay human. If the loop still makes you want to move after the tempo change, it is doing its job.